

here is how i spent my Thanksgiving. peace, quiet, alone. its how i prefer it. i can do little projects, and not be disturbed. wife and Chub go to her fams house for dinner, i stay home. its what works for me. right now finishing up my Kraft Mac-n-Cheese dinner.... hey, its what i like ")
so here i detail how to do some fiberglass work. its really easy (to me) and its fun as well. a good way to waste a couple hours, anyways. i am doing a copy skin of an S2 headlight to fill that spot on the race car. i have sheet metal now, but this will look more professional.
first, mount the headlight so its stabilized. use wood so you can staple the material to it.
![Image]()
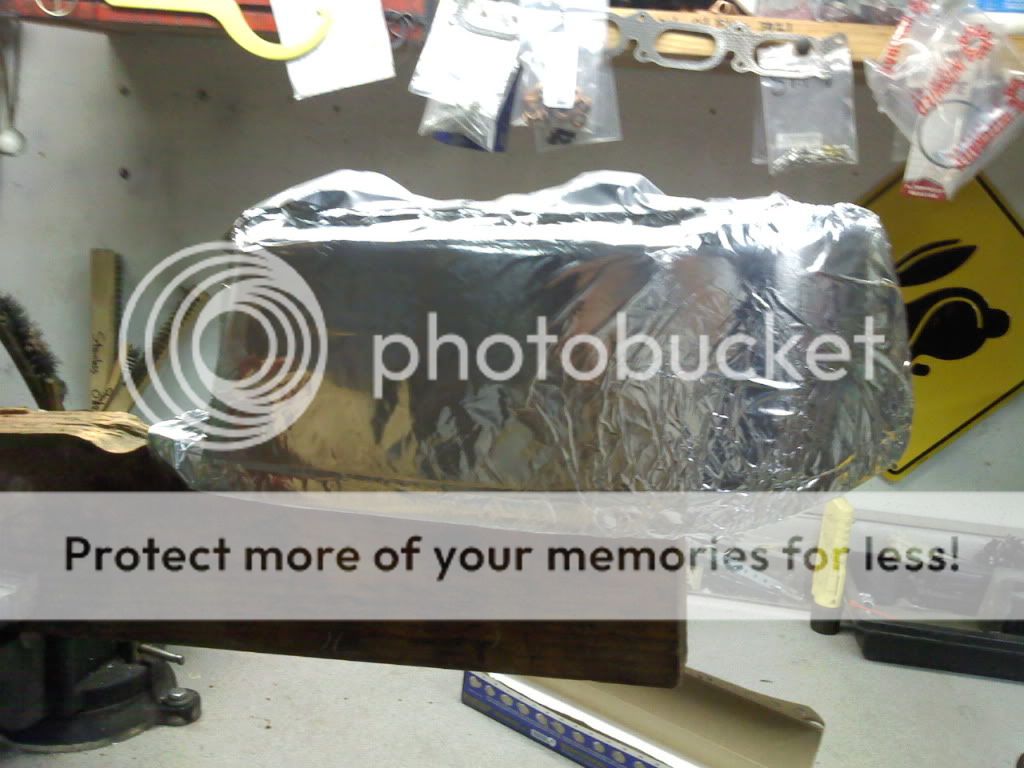
cover it with foil, tape, whatever. just dont want resin to stick to and ruin your good headlights.
![Image]()
![Image]()
stretch material (i use old t-shirts) over the plug (headlight) and staple it to the behind structure. get it as you want it to turn out, no wrinkles, etc. tight as you can. then make it in such a way that you can get to all parts you want to resin up, easily.
![Image]()
![Image]()
mix up some resin, and thoroughly saturate where you want your part to be molded from. i went about an inch around the edges, so i can trim to fit. light use of heat gun to help it kick off...
![Image]()
do another layer, this next layer of resin outside gives it a really smooth finish. more heat gun action.
![Image]()
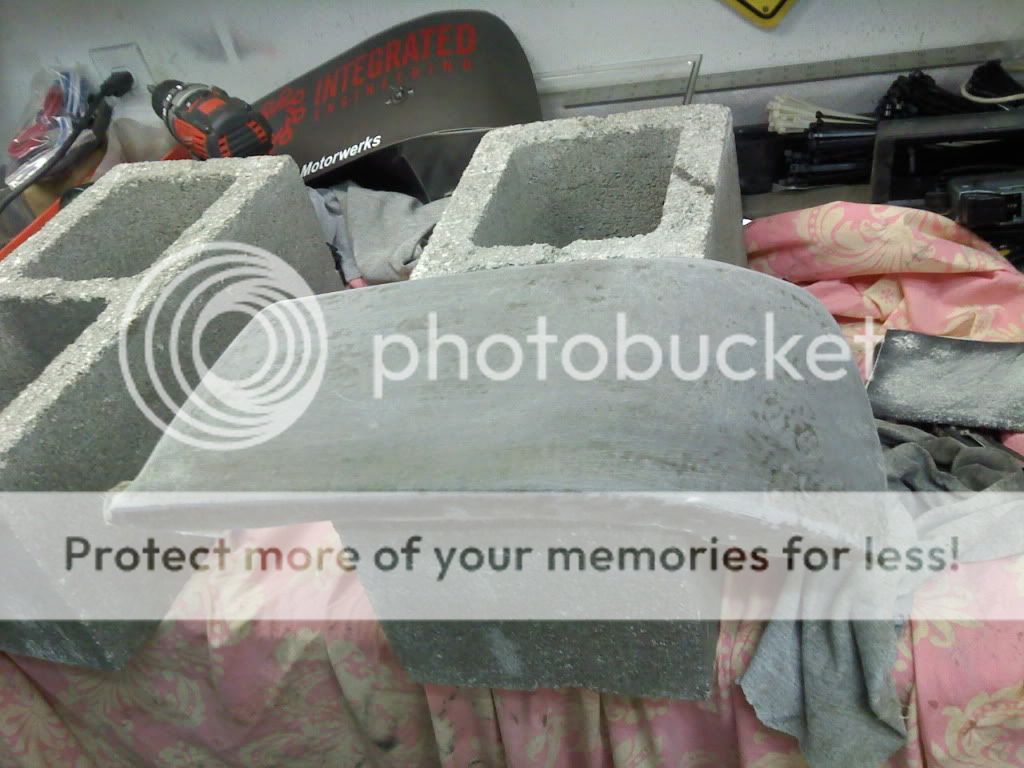
pull part from plug, trim back part, clean up some edges, and prep for internal glass work.
![Image]()
layout your matting and make it easy to handle and work with. lay it in the now mold, and make sure you slit it where it bubbles up, etc. fit it relatively well, you can always trim while wet but it mucks up your scissors LOL. they clean if you get to it while wet still. apply resin to matting pieces, and push into place and remove what bubbles you can. i usually coat one side (the back side) first, then flip it and put it into place. then i come along the top side with more resin and push it in with a paint brush. this gets it a sticky surface to cling to the part for one, and lets you not have to work it so much to get it resin soaked.
![Image]()
test fit, trim as needed. mine still needs final trim work on the race car, the Lago is in the garage and since its the same thing i just used it for placement.
![Image]()
sand up the outer surface, get it as good as you want for your paint surface.
![Image]()
paint and refit. tomorrow i will final trim and then make it attach with the Dzus fasteners i already have in place for the sheet metal cover i am replacing with this much cooler one. thanks for looking.
![Image]()
Happy Thanksgiving, folks. :cheers:
so here i detail how to do some fiberglass work. its really easy (to me) and its fun as well. a good way to waste a couple hours, anyways. i am doing a copy skin of an S2 headlight to fill that spot on the race car. i have sheet metal now, but this will look more professional.
first, mount the headlight so its stabilized. use wood so you can staple the material to it.

cover it with foil, tape, whatever. just dont want resin to stick to and ruin your good headlights.

stretch material (i use old t-shirts) over the plug (headlight) and staple it to the behind structure. get it as you want it to turn out, no wrinkles, etc. tight as you can. then make it in such a way that you can get to all parts you want to resin up, easily.


mix up some resin, and thoroughly saturate where you want your part to be molded from. i went about an inch around the edges, so i can trim to fit. light use of heat gun to help it kick off...

do another layer, this next layer of resin outside gives it a really smooth finish. more heat gun action.

pull part from plug, trim back part, clean up some edges, and prep for internal glass work.

layout your matting and make it easy to handle and work with. lay it in the now mold, and make sure you slit it where it bubbles up, etc. fit it relatively well, you can always trim while wet but it mucks up your scissors LOL. they clean if you get to it while wet still. apply resin to matting pieces, and push into place and remove what bubbles you can. i usually coat one side (the back side) first, then flip it and put it into place. then i come along the top side with more resin and push it in with a paint brush. this gets it a sticky surface to cling to the part for one, and lets you not have to work it so much to get it resin soaked.

test fit, trim as needed. mine still needs final trim work on the race car, the Lago is in the garage and since its the same thing i just used it for placement.

sand up the outer surface, get it as good as you want for your paint surface.
paint and refit. tomorrow i will final trim and then make it attach with the Dzus fasteners i already have in place for the sheet metal cover i am replacing with this much cooler one. thanks for looking.

Happy Thanksgiving, folks. :cheers:


